
How To Take Instagram Worthy IPhone Photos Of Your Kids At Home
May 3, 2023
DIY Kids Photoshoot
We all know the struggle of seeing a beautiful moment, and wanting to grab a picture to preserve it, only to be left severely disappointed by the photos you end up with! I get it! Before becoming a photographer, I was downright awful at taking photos. It is definitely a skill I have a developed, not one I was born with. So I understand the struggle, which is why I am here to help!
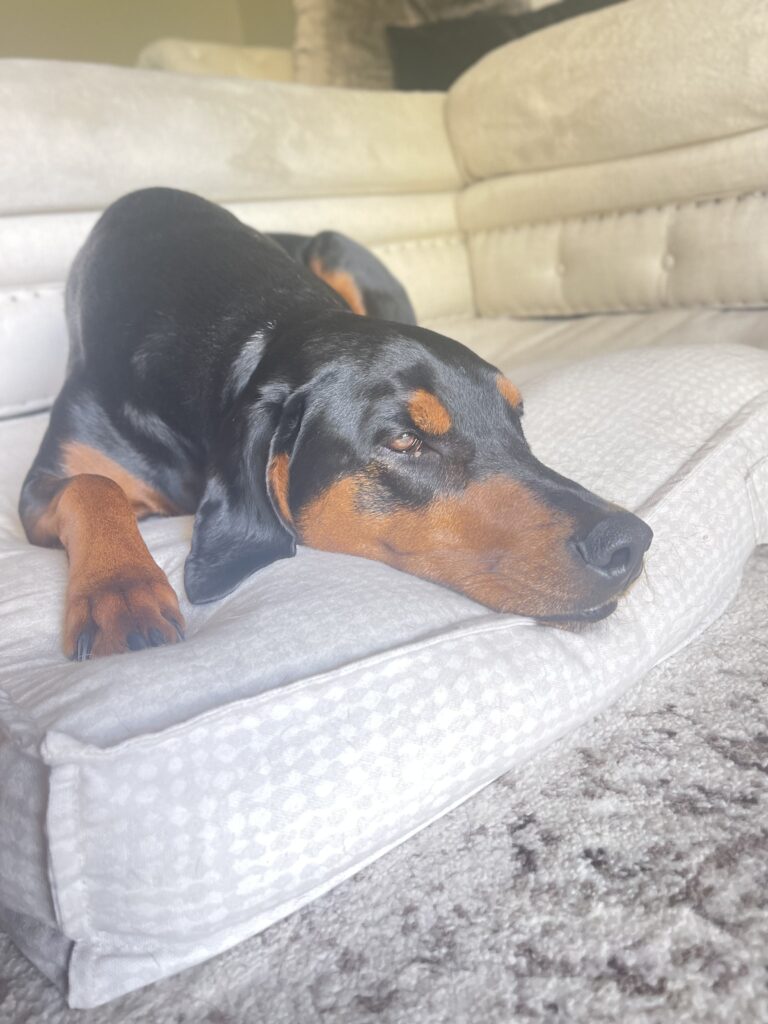
In this blog post you will find my top tips for improving your own iPhone photos of your kids! Throughout this post I will be showing you examples of the different concepts using my (some what) willing participant, Nala.

So lets jump in and talk all about my top five tips for your DIY photos at home.
Find A Good Light Source
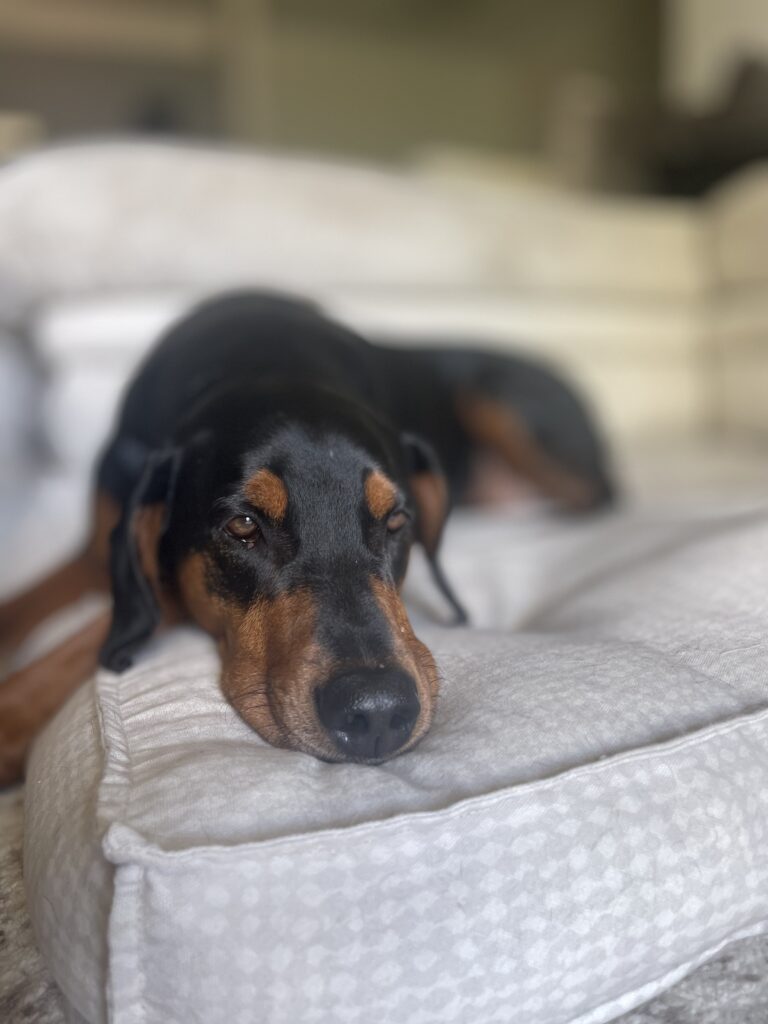
You are looking for soft light. Phones behave different from cameras in that they are always “correcting and processing” the image for you. This means you have less ability when it comes to editing, but in turn it is easier to take a photo that doesn’t require much editing. But that means you need to make sure your lighting is correct when you take the photo rather than trying to completely correct it with editing.
You want to be near a large window, but place your subject far enough away so that they are not directly in any sun beams. You will also want to ensure that the window at a 45-90 degree angle from your subject, not straight on! If you are outside on a sunny day look for shade. Once in the shade if the photo is too dark you can change the brightness by tapping the screen, and when you see the sun icon drag your finger up until the photo is brightened to your liking. You can also do this to darken the photo in situation where the light may be too bright.

You can see with these two photos how much you are able to change to the exposure (or brightness) by playing with the exposure dial in camera. Now because my scene was properly lit, neither adjustment was necessary, and actually messes up the photo. But this is a good example of the range that you have to play with.
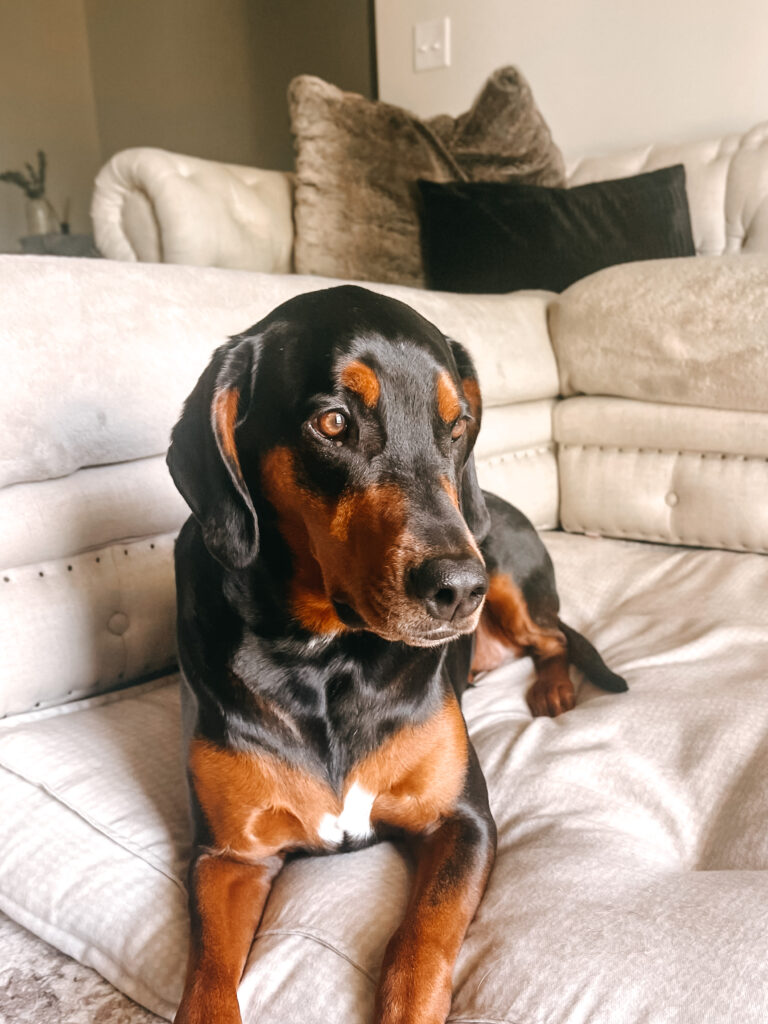
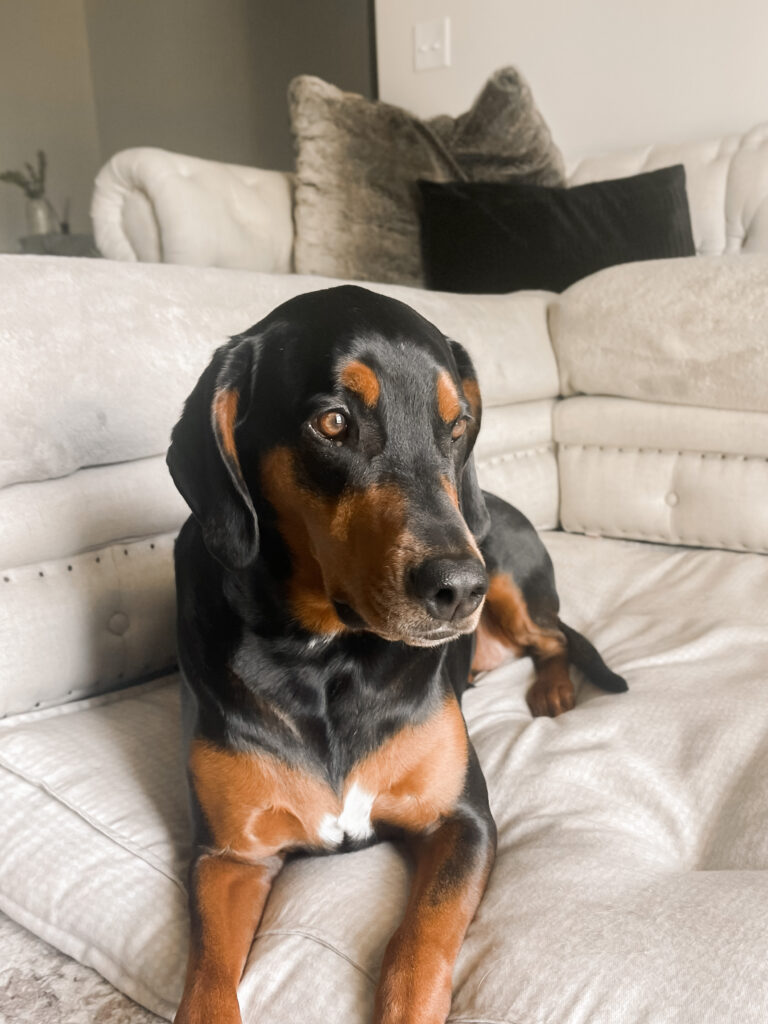
Find A Simple Backdrop
A cluttered backdrop will make the photos look unfinished, and it will take the focus away from the subject. So find a clean spot like a sofa, open grass, or a light colored wall. This will ensure your subject is the star of the show!
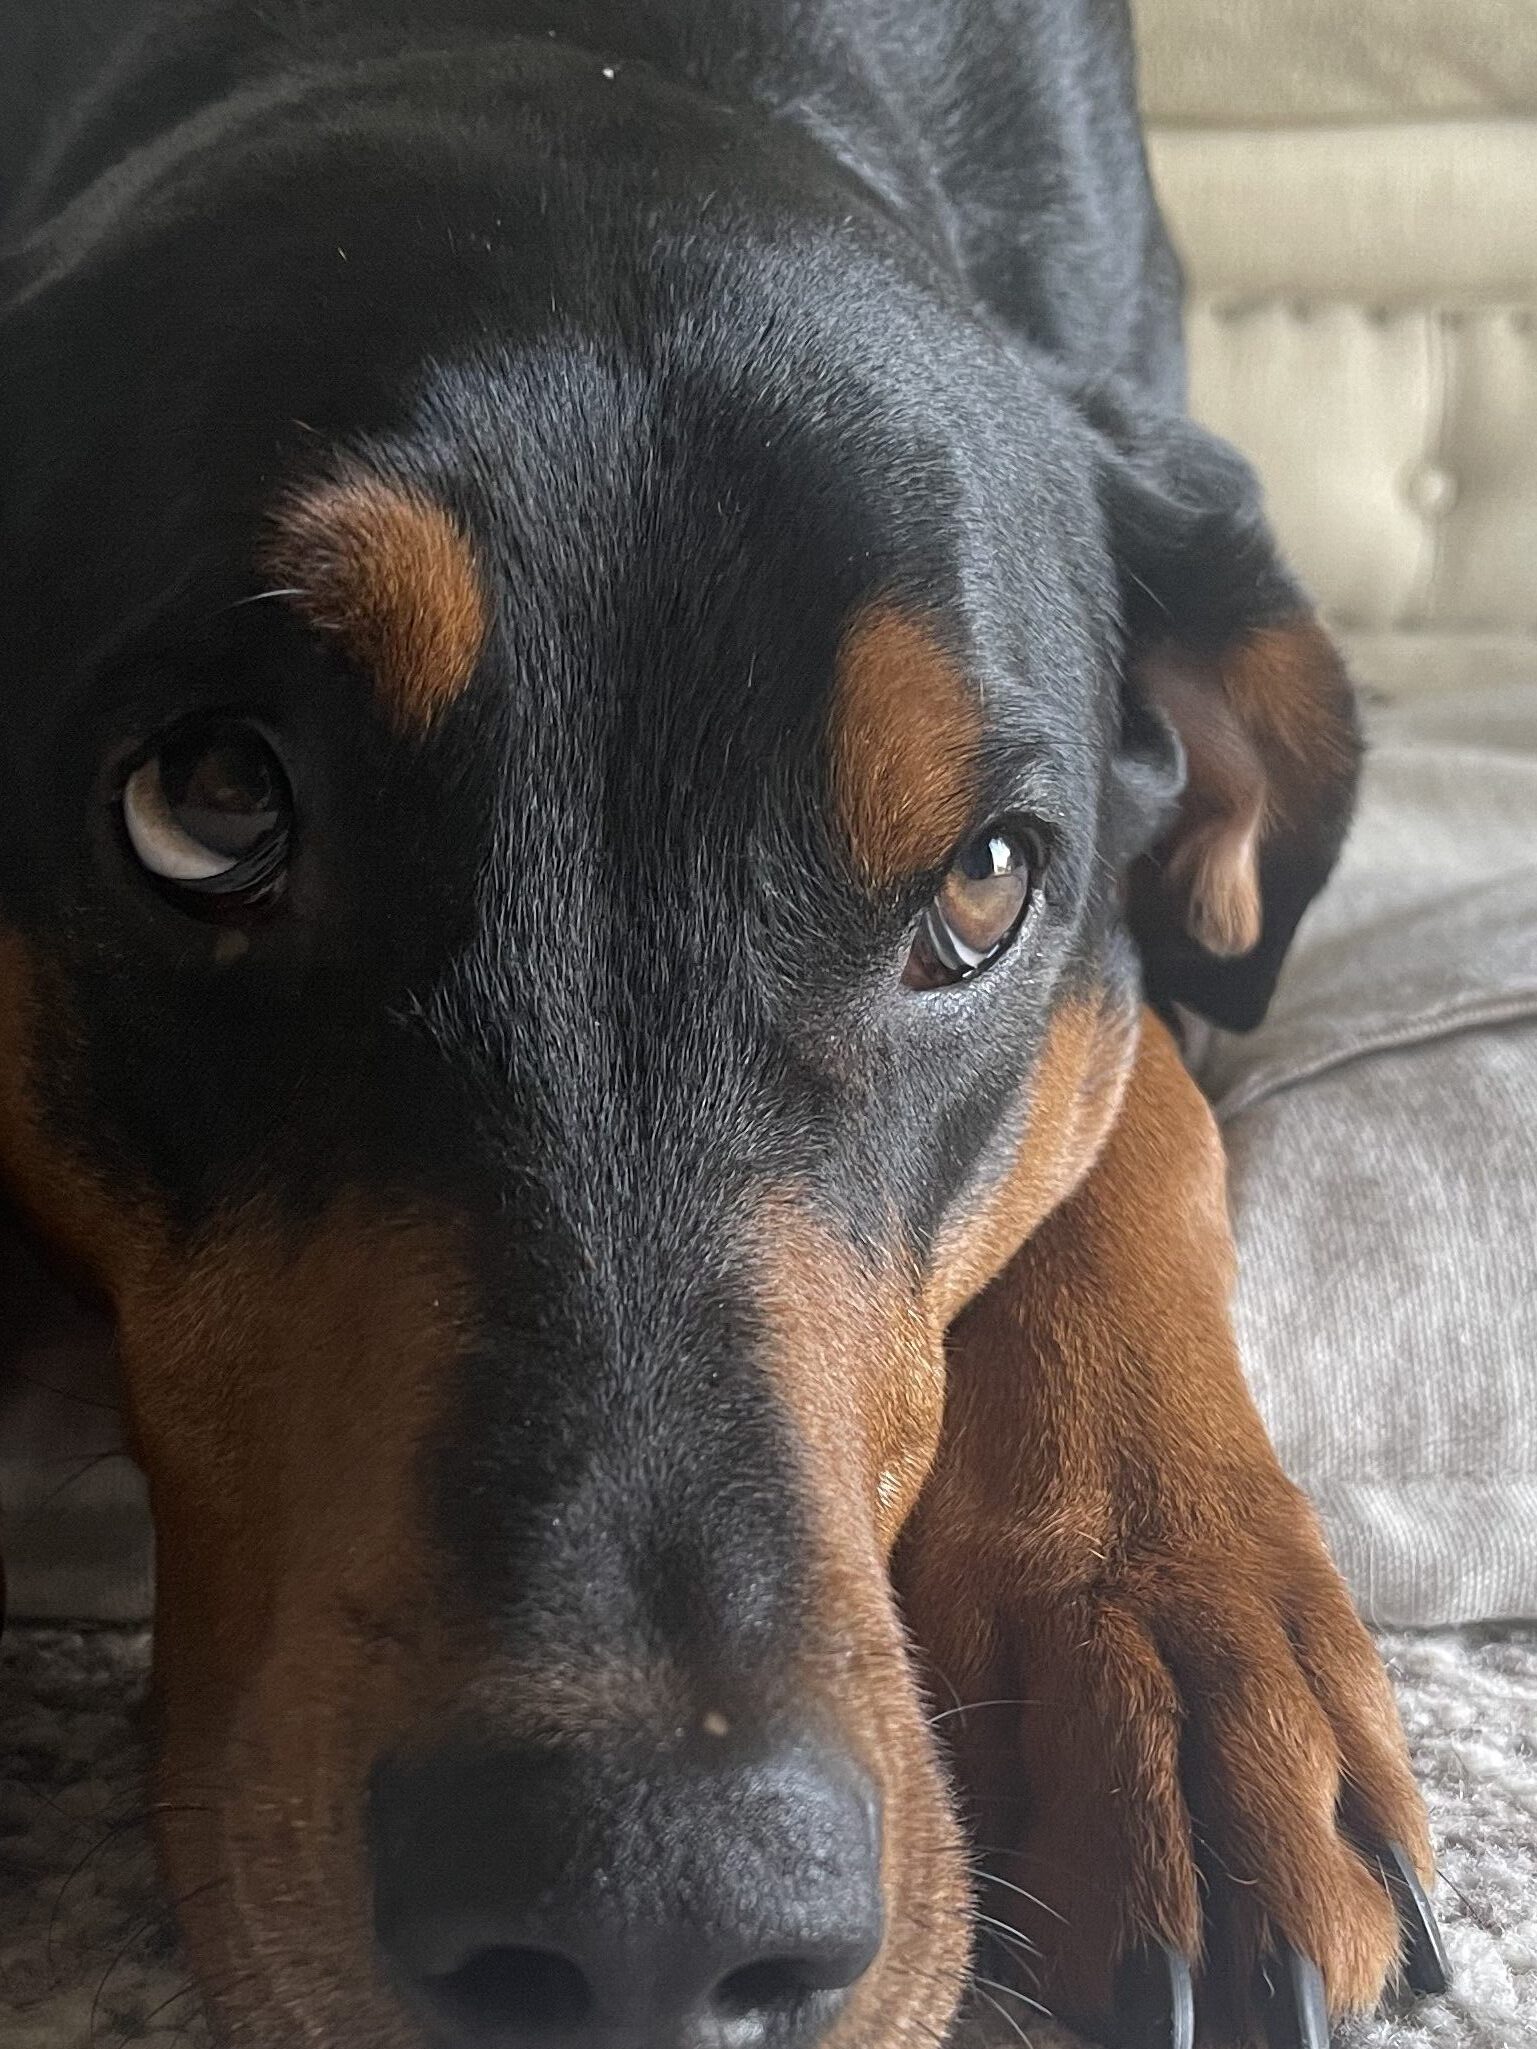
Get Eye Level
If you are too far above the photo will look distorted, and too far below you will be looking up their nostrils, which is really never flattering. So get eye level and make sure the focus is on their face, specifically their eyes. You can ensure that it is focused on the eyes by tapping on one of their eyes on the screen until it focuses there.

Use Portrait Mode And Change The F Stop
This is a very useful tool for widening your focus area! Okay so I may have lost some of you with that one. But don’t freak out on me, this is not as complicated as it sounds!
Lets first take a look at how to do it and then we will talk about when you would want to do it. To change the f stop you are going to click on the little f in the top right corner. For one child an f stop of 2.8-4.0 should work great. For two or more I would change to at least 8.0. You can even go all the way to 16 if you have a bigger group.
You will be able to see this change as you make it, so don’t stress too much about memorizing this. But what it is going to change is how narrow or wide your focus is. An f stop of 2.8 is narrow, like tunnel focus. On the contrast, an f stop of 16 is a wide area of focus, which is why you would want this for multiple kids to ensure they are all in focus. Once you try this for yourself it will become very easy to see where you need to place it for each situation.


Minimal Editing
Keep the editing minimal! This, of course, comes down to personal preference, so take from this what you will. But for me, over edited photos are easy to spot! So what does this look like? For me over edited photos look unnaturally bright with severely saturated colors. It can also be photos where skin tones look very untrue to real life. Again this is all personal preference! But I love a minimal edit, especially with phone photos. To edit I am just changing a couple things such as bumping up exposure, and bringing down contrast to give them a softer, light look! This keeps photos true to life, while still creating a more polished end product!
With phone cameras improving by the day, it would be a waste to not learn to take full advantage of their capabilities. While nothing replaces professional photos (at least in my opinion, but hey maybe I am bit biased), having nice photos of your day to day life doesn’t have to be difficult!
